InsulationGuide
DIY vs. Professional

DIY vs. Professional Insulation Installation

"Can I do this myself?" isn't really a yes-or-no question — it depends on which part of the job you're talking about. Some insulation projects are genuinely approachable for a homeowner with basic tools. Others carry real risk (chemical, structural, or moisture-related) that makes professional installation the smarter call. This guide breaks down which is which, honestly, with no pressure toward either answer.

What You Can Realistically DIY

These share a common thread: accessible, low-hazard, and forgiving of minor mistakes.

Fiberglass Batts

Precut to standard stud and joist spacing, no special equipment required, and forgiving of minor mistakes. The most approachable material for a first insulation project.

Rigid Foam Board

Cuts with a utility knife or foam saw, straightforward to measure and fit against basement or foundation walls. Seams need careful taping to get the full air-sealing benefit.

Loose-Fill with a Rented Blower

Home-improvement stores often rent blower machines for cellulose or fiberglass loose-fill. A straightforward attic top-up over an already-insulated floor is a reasonable weekend DIY project.

What's Professional-Only (and Why)

Not scare tactics — just an honest look at where the risk genuinely outweighs the savings for most homeowners.

Spray Foam

A real-time two-part chemical reaction that requires precise mixing ratios, temperature control, and proper ventilation. Getting it wrong can mean off-gassing, poor cure, and a costly redo — this is the clearest case for hiring a pro.

Attic Blown-In at Scale

A full attic from bare joists to target R-value (not a simple top-up) requires managing even density across a large area, maintaining soffit ventilation with baffles, and moving a lot of material efficiently — genuinely more involved than it looks.

Crawl Space Encapsulation

Combines insulation with vapor barriers and moisture control. Done wrong, it can trap moisture against wood framing and cause mold or rot — a bigger risk than most homeowners realize going in.

Step-by-Step: DIY Attic Insulation with Batts

1. Gather tools and safety gear

Long sleeves, gloves, safety glasses, an N95 or better respirator mask, a utility knife, a tape measure, and a headlamp. Fiberglass fibers irritate skin and lungs — don't skip the PPE.

2. Check for issues first

Look for signs of roof leaks, pest activity, or existing damaged insulation before adding new material on top. Address any of those first.

3. Install baffles at the eaves

Baffles keep soffit vents clear so air can still flow into the attic — burying them defeats the point of roof ventilation and can cause moisture problems.

4. Lay batts perpendicular to joists

If you're adding a second layer over existing insulation, run it perpendicular to the joists below to cover gaps and thermal bridging. Don't compress batts to fit — compression reduces R-value.

5. Work around fixtures carefully

Keep insulation clear of non-IC-rated recessed lights and maintain any required clearance around flues and chimneys per the manufacturer's instructions.

Common mistakes: compressing batts to stretch coverage, blocking soffit vents, leaving gaps around the attic hatch, and skipping air sealing before insulating (which insulation alone won't fix).
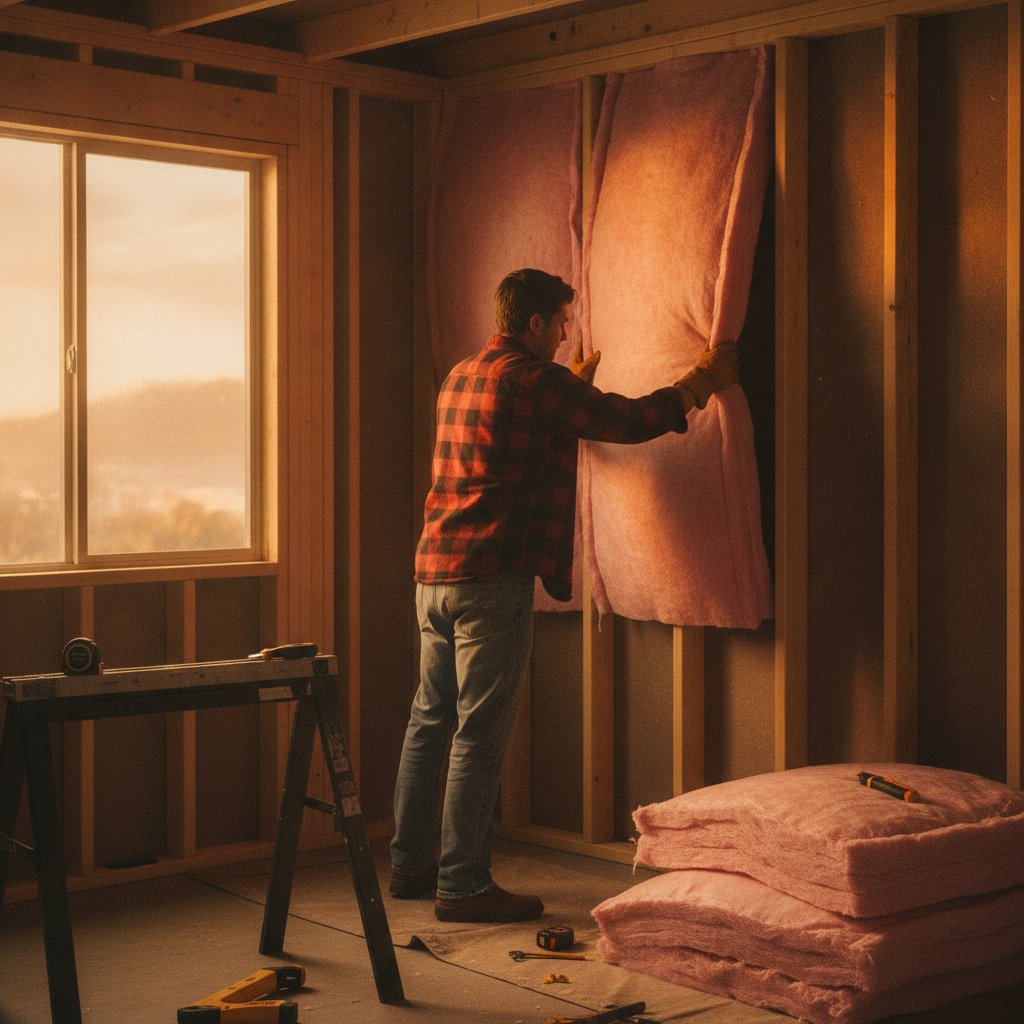
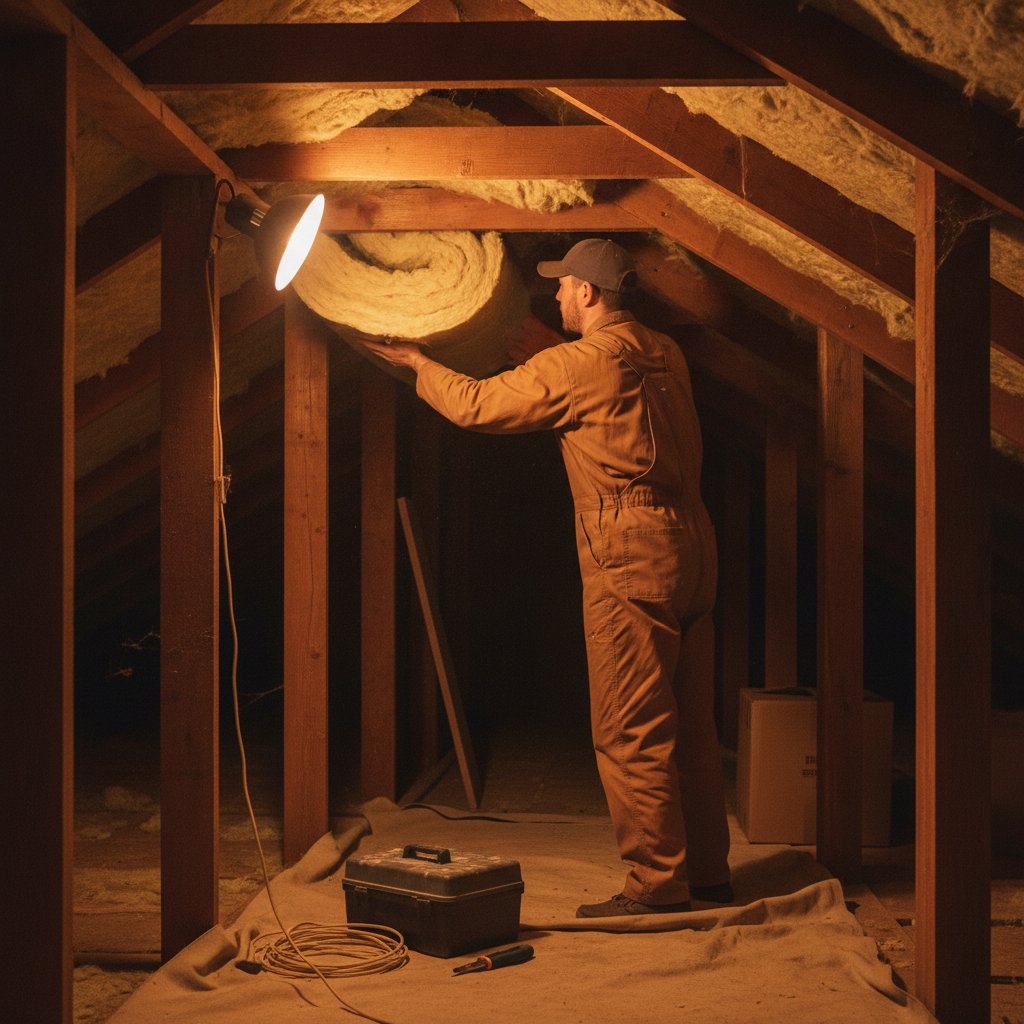
A homeowner installing fiberglass batt insulation in an attic wearing safety gear

Step-by-Step: DIY Garage Insulation

A garage is one of the more approachable DIY projects since walls are usually open (unfinished) and easy to access.

  1. 1.Measure stud bays and buy batts sized for your framing depth (2x4 vs. 2x6).
  2. 2.Cut batts to fit around outlets, wiring, and any bracing — friction-fit, don't force or compress.
  3. 3.Insulate the garage door with a rigid foam kit if it's attached to living space above or beside it.
  4. 4.Cover with drywall if code requires it for fire separation between an attached garage and living space — check your local code before skipping this step.

Is DIY Spray Foam Safe?

Small DIY spray foam kits do exist, marketed for sealing gaps and small cavities. For anything beyond a small crack-and-gap job, though, DIY spray foam carries real risk. The foam is a two-part chemical reaction — resin and isocyanate — that has to be mixed in the correct ratio and applied within the right temperature range and ventilation conditions. Get any of that wrong and the foam can cure improperly, leading to lingering off-gassing, a soft or shrinking cure, or a job that has to be torn out and redone.

This is the single clearest case for professional installation on this whole page. Contractors carry the right personal protective equipment, ventilation setup, and experience reading how the foam is curing in real time — none of which a one-time DIY kit reliably replicates.

DIY Cost Savings vs. the Real Risk of Mistakes

Doing it yourself genuinely saves the labor portion of the cost — often a meaningful chunk of the total. But that savings only holds up if the job is done right. The realistic downside risks of a DIY mistake include:

  • Under-insulating without realizing it (compressed batts, gaps, or insufficient depth for your climate zone)
  • Trapping moisture against framing, which can lead to mold or rot over months or years
  • Blocking attic ventilation baffles, causing condensation and roof deck problems
  • Fire-clearance or electrical-clearance mistakes around fixtures and flues
  • Voiding a manufacturer warranty on materials installed outside the specified guidelines

None of these are likely with the DIY-friendly materials and projects described above when done carefully. They become much more likely with the professional-only projects — which is exactly why that distinction matters.

How to Tell Your Project Needs a Pro

If any of these apply to your project, it's a strong signal to hire a professional rather than DIY it.

  • The project involves spray foam of any kind
  • You're insulating a crawl space that needs moisture/vapor control, not just insulation
  • You're doing a whole attic from scratch, not a simple top-up over existing insulation
  • You're not comfortable working in a hot, cramped attic for several hours at a stretch
  • Your home has knob-and-tube wiring or other electrical concerns near the insulation area
  • You suspect the existing insulation may be contaminated (mold, rodents, or older asbestos-era material)

If your project checked any of those boxes, get matched with a vetted, insured insulation contractor near you.

A professional contractor installing insulation in a home

When the Job Calls for It, a Pro Is Worth It

Hiring a professional isn't an admission that a project is too hard for you — it's a reasonable choice for the jobs where the equipment, chemical handling, or moisture-management expertise genuinely changes the outcome. A vetted, insured installer brings the experience to get those higher-risk jobs right the first time.

Frequently Asked Questions

Start with the most forgiving materials — fiberglass batts in an open, accessible space, or rigid foam board against basement walls. Measure carefully, wear proper PPE (gloves, long sleeves, a respirator mask, and eye protection for fiberglass or cellulose), and avoid compressing batts, which reduces their effective R-value.

Fiberglass batts are generally considered the easiest for a first-time DIYer, since they're precut to standard framing dimensions and don't require special equipment. Rigid foam board is a close second for basement and foundation wall projects.

Yes, for the right projects — fiberglass batts, rigid foam board, and a simple attic top-up with a rented blower are all reasonable DIY undertakings with proper safety gear. Spray foam, large-scale attic blow-ins, and crawl space encapsulation carry real enough risk (chemical, structural, or moisture-related) that professional installation is the safer choice.

Materials-only DIY costs are typically lower than a fully installed professional price, since you're not paying for labor. But that savings only holds up if the job is done correctly — under-insulating, compressing batts, blocking attic ventilation, or trapping moisture can cost more to fix later than hiring a pro would have cost upfront.

Call Now Get Matched